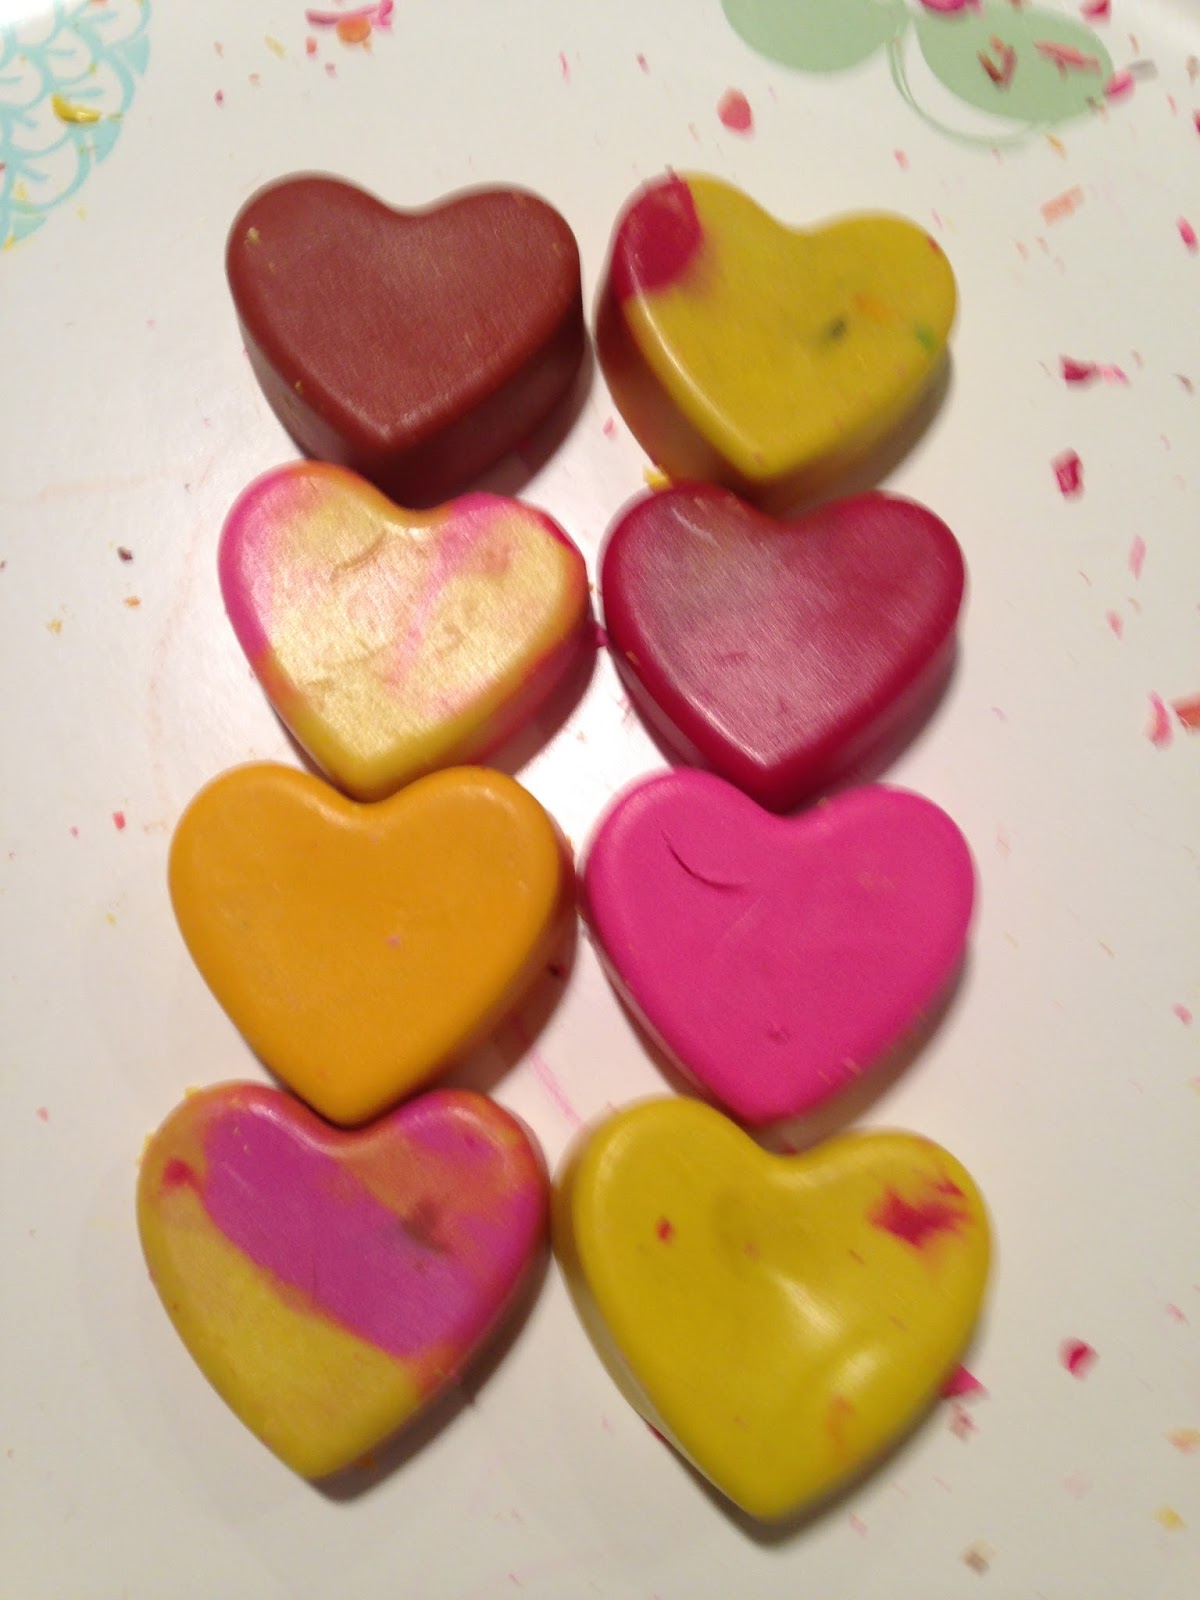
Number of Crayons Needed: Depends on number of letters you are making
Other Materials Needed: Method 1 - Alphabet letter mold, oven or toaster oven, oven mitts; freezer; Method 2 - Alphabet letter mold, oven or toaster oven, oven mitts, glass jars; freezer, paper towel
Directions:
Hello! This is part of the North Hill robotics team,
and today we are going to show you a craft you can make out of recycled
crayons. Did you know that crayons are
made out of wax and wax can’t decompose in landfills? This means that crayons hurt the environment. We are showing this project
because we don’t want you putting your crayons in the trash, and hurting the
environment. Let’s get started!
There are 2
ways to make crayon letters. These
instructions will show you both ways.
Keep in mind, these methods take different amounts of time to make the
crayon letter. It’s your choice of which
method you want to use. You can do this
as many ways as you want. You can also
use your own method for this protect.
Remember, use your imagination.
It’s your turn to be creative.
Step 1: You will need a silicone letter mold. If you have one, great! If you don’t, that’s okay. You can buy one on amazon for about $10.00.
Step 2: Gather crayons. You may choose any colors, but choose the
colors you want to see in your crayon letter.
You can either choose a couple colors, or a lot of colors. It does not matter how many crayon you pick.
Note: The net steps of these instructions will
split off into 2 parts. They will do this
because there are 3 ways to make these letters.
Method 1
Intro: This method is the easiest way to make
crayon letter. This method makes your
crayon letter looked spotty. We call
this the spotty method!
Step
3: Preheat your oven to 350˚F. Also, put as many crayons as you can fit
into the mold.
Step
4: Put your mold into the oven. An
easy way to put it in and out of the oven is to put the mold into a tin. Set a timer for 10 minutes.
Step
5: Take the mold out of the oven. Your crayons should be melted. If that is the case, put more crayons in
the mold. Next, put the mold back into
the oven, and set a timer for 5 minutes.
Step
6: Take the mold out of the oven and
transfer it to the freezer.
Step
7: Take the mold out of the
freezer. Pop the letters out of the
mold and you are done!
|
Method 2
Intro: Method 2 is called the layering
method. It is also very similar to
method 1.
Step
3: Preheat your oven to 350˚F. Next, fill the mold with crayons halfway up
to the mold. Then, put it in the
oven. Set a timer for 10 minutes.
Step
4: Take the mold out of the
oven. Then transfer the mold to the
freezer.
Step
5: While you are waiting for the
letter to cool in the freezer, put new crayons into a glass jar. This will be the second layer of your
crayon letter. Then, put the glass jars into the oven and set a timer for 10
minutes.
Step
6: Take the jars out of the oven. The jars will be hot so you might want to
make paper towel holders so you can easily grab the jar.
Step
7: Take the mold out of the oven. Pour the crayon in the jar into the
mold. When you are done with that, put
the mold back into the freezer. Set a
timer for 10 minutes.
Step
8: Take the mold out of the
freezer. Pop the letters out of the
mold. Now you are done!
|